These features are only available for Census Embedded customers. If you don’t
see these options, please reach out to Customer Support.

- Generate a connect link for your customer.
- Your customer enters their credentials.
- The connection appears in your Census workspace.
By default, Connect Links will expire after 24 hours. If you’d like them to
last longer for your account, you can update this setting in your
organization settings.
You can also customize where users will be redirected after authorizing a new
connection, as well as the logo that is used.
We will use destination connect links in this guide. Source connect links are
also available.
- From the UI
- From the API
Generating Connect Links via the UI is not commonly used as a long term approach for true Census Embedded customers, but it can be useful when starting out to get a feel for what your end-users will experience.
1
Generate Connect Link URL
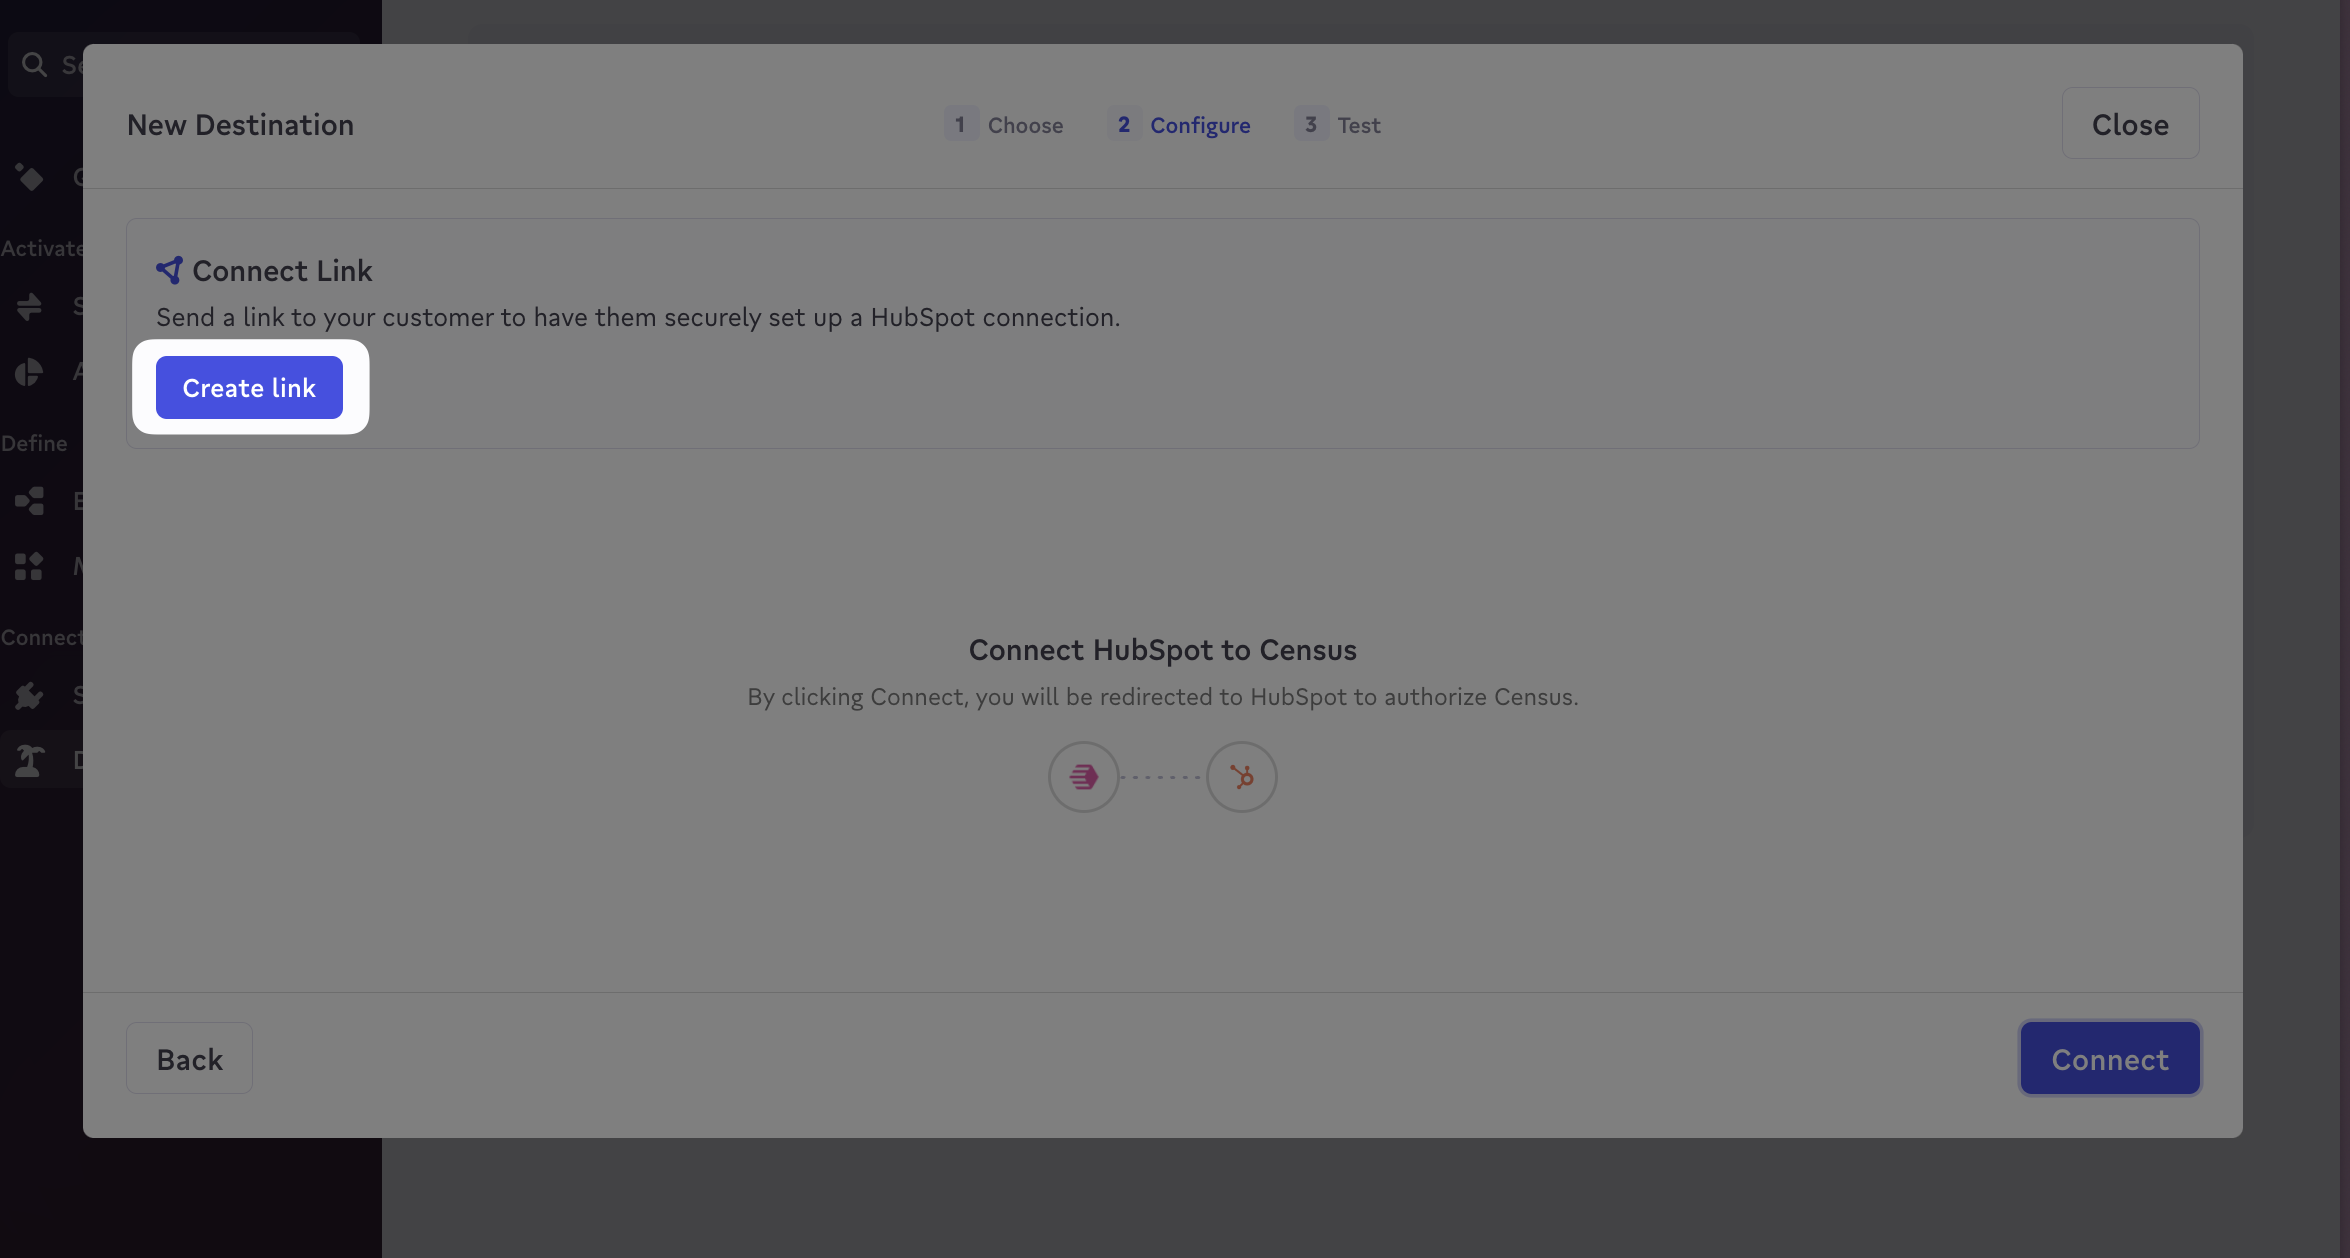
From the destinations page in the Census UI, select “Add a Destination”, search for the destination type your customer is hoping to connect, and select “Next”. Generate the Connect Link URL with the “Create link” button.

2
Navigate to the Connect Link URL
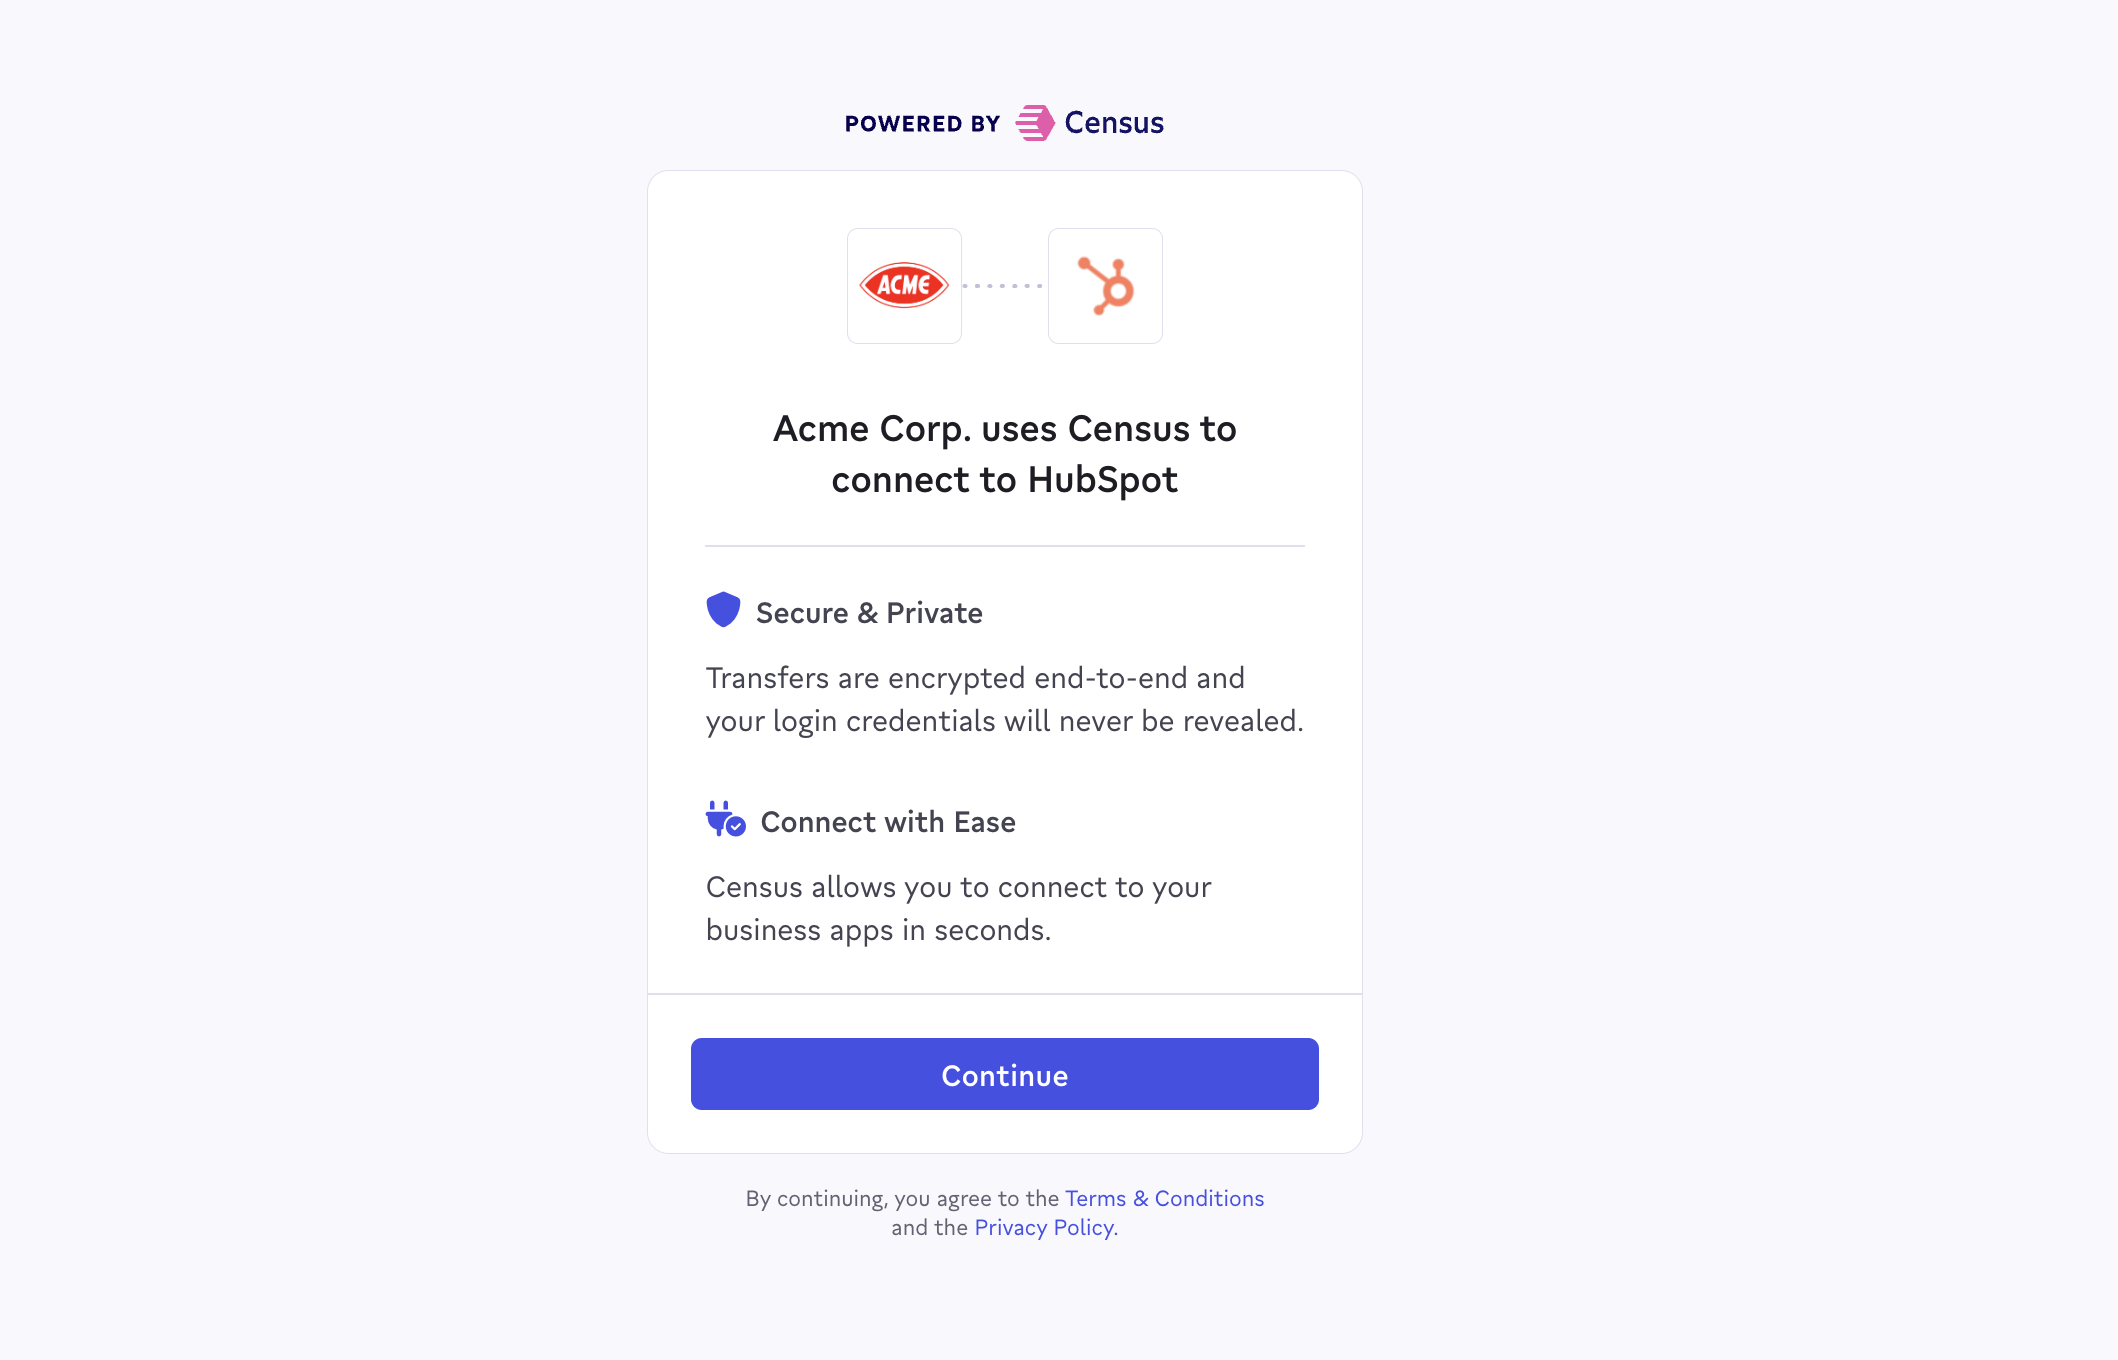
You can now copy the Connect Link URL and either send it to your customer via Slack or in an email. Or, if you’d like to embed the connection flow directly in your app, check out our embedded connect links guide.

3
Complete Authorization of Destination
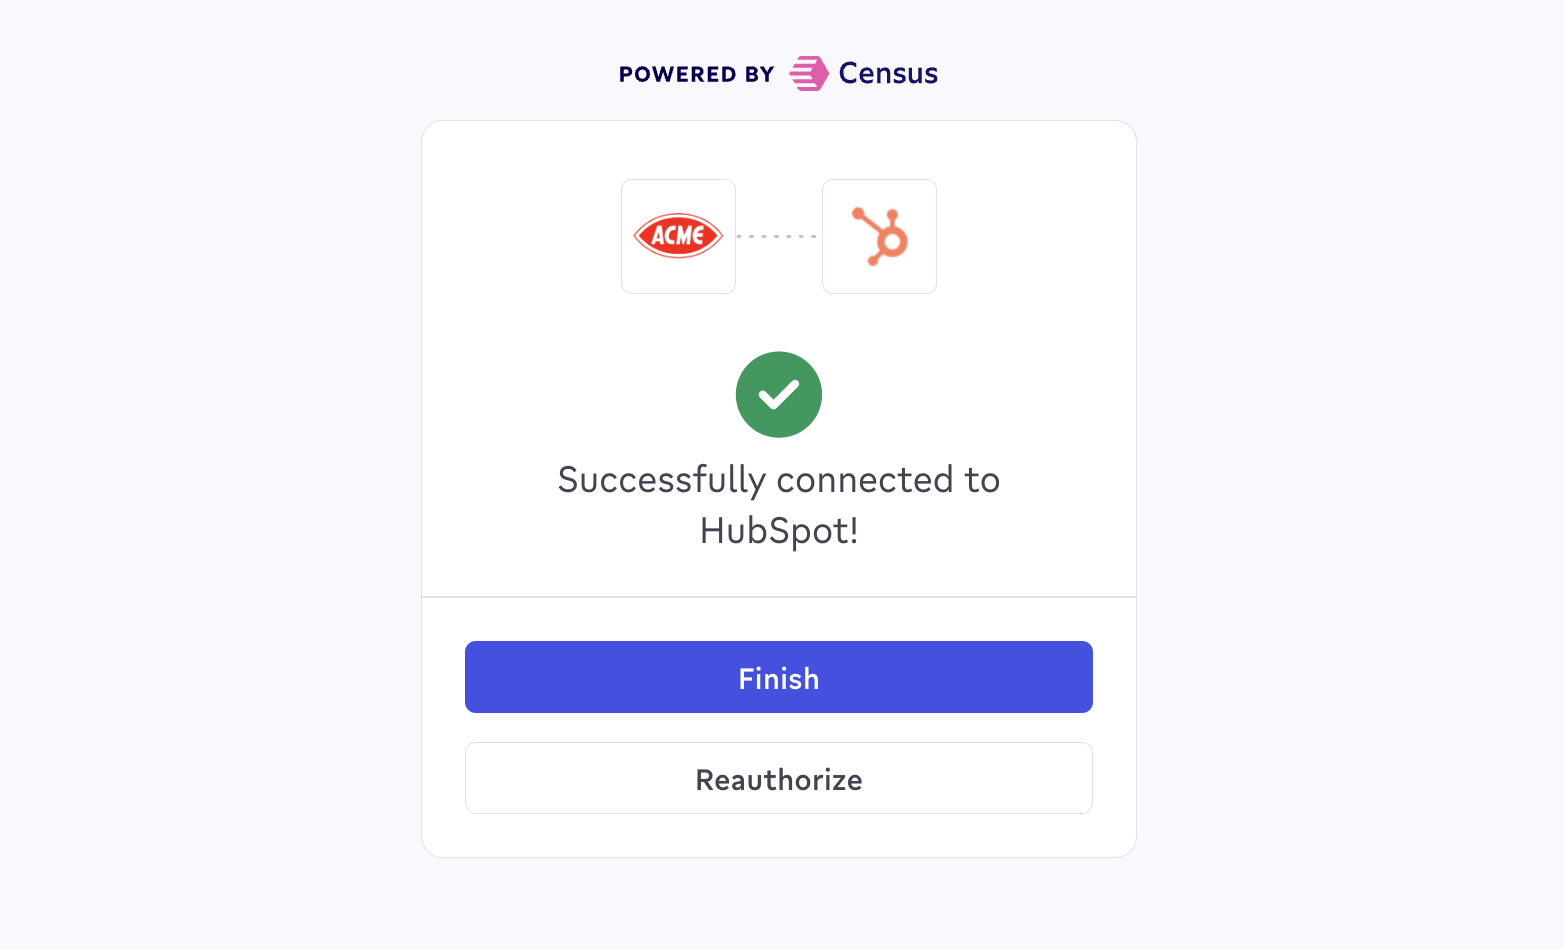
Your customer (or you) should then go through the Connect Link authorization flow with the destination. The Connect Link UI will handle
- Gathering all the required credentials for the destination.
- Performing a series of automated tests against the destination.
